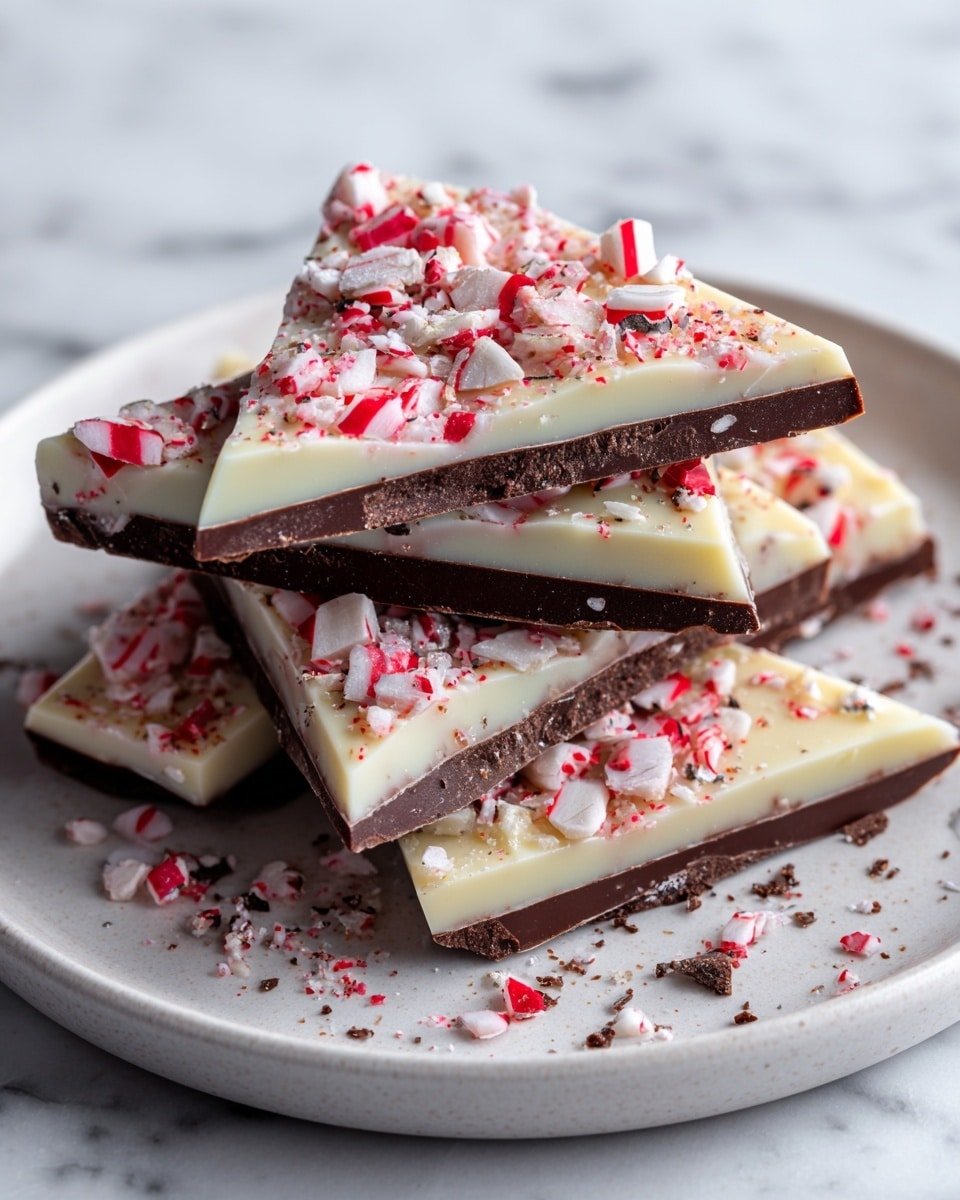
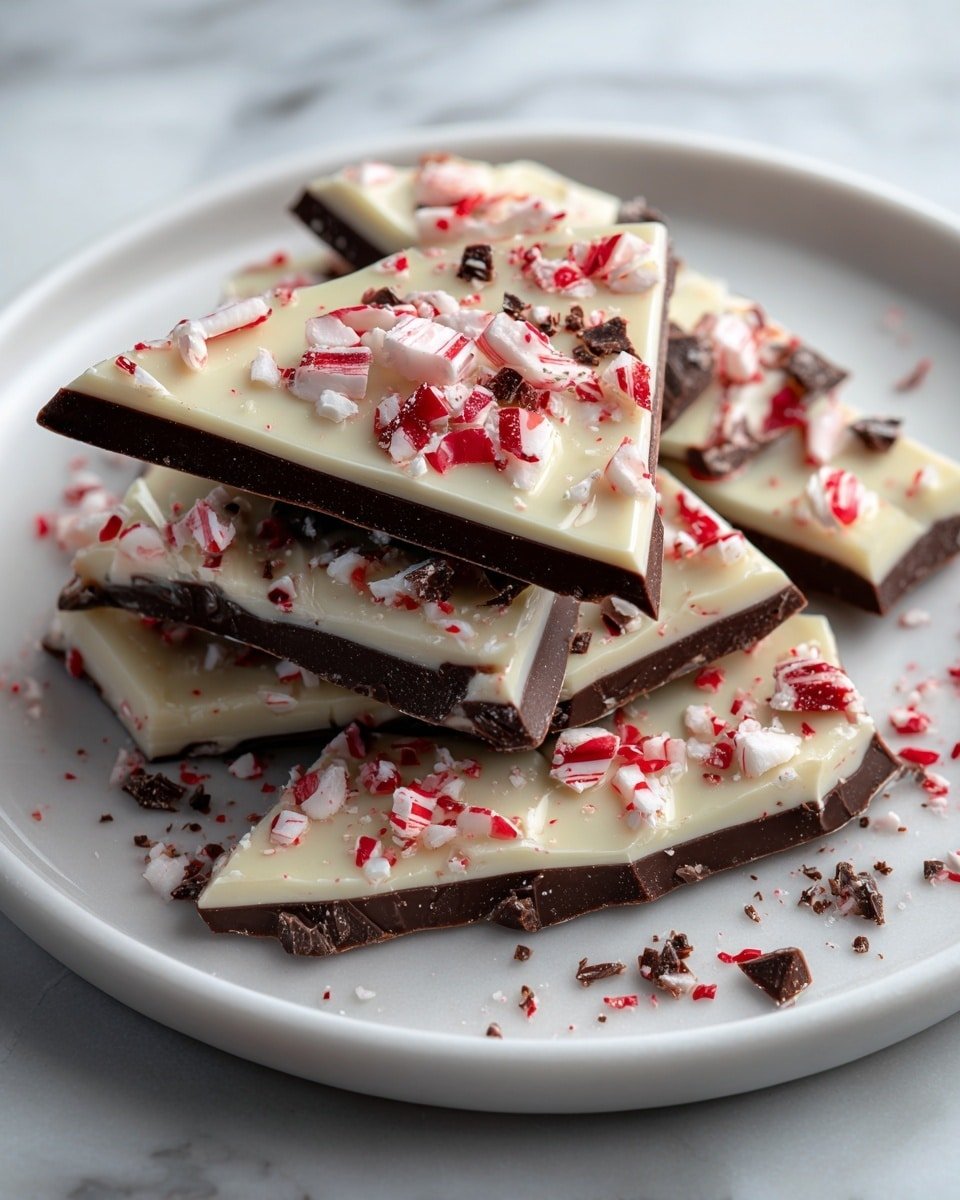
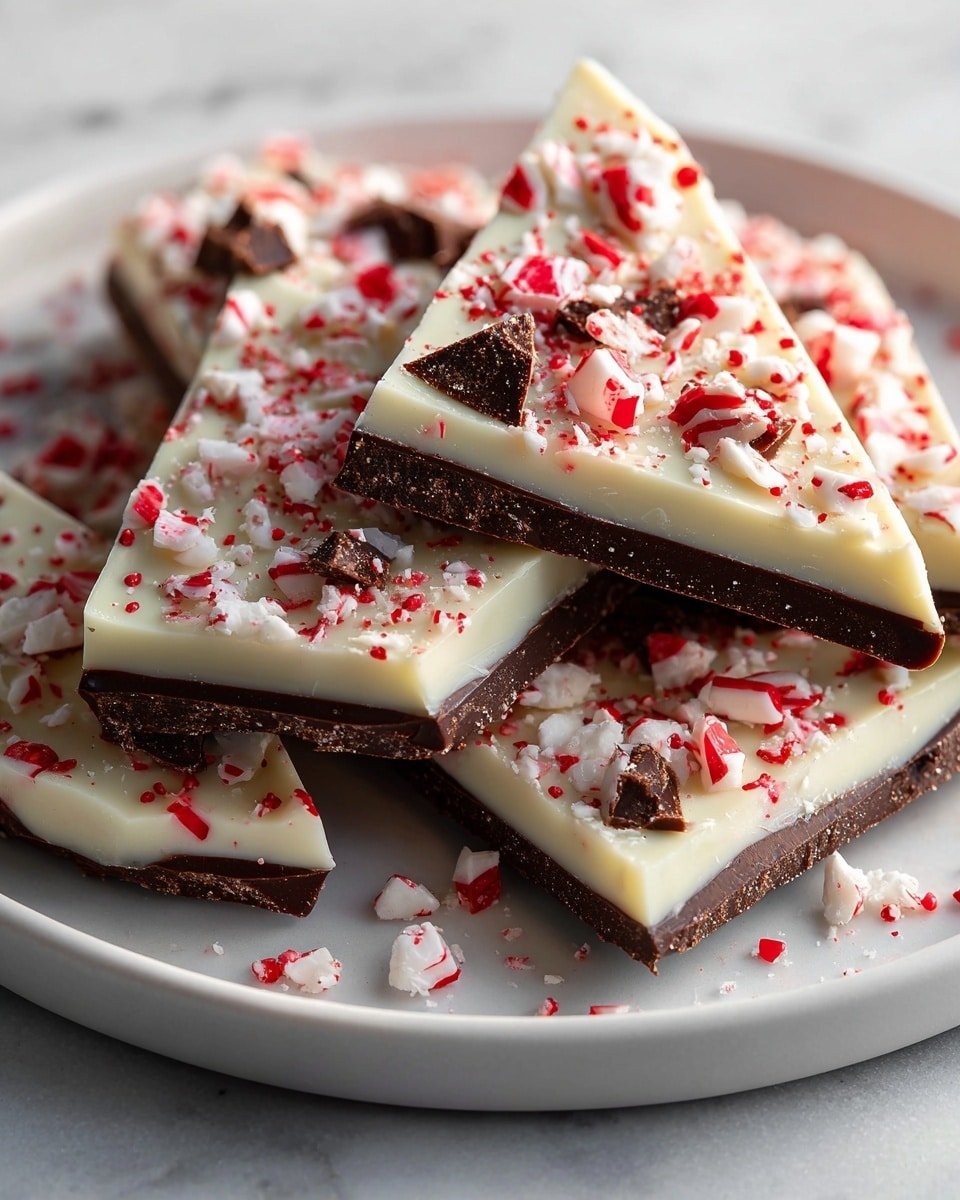
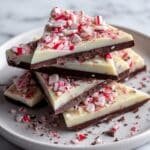
Peppermint Bark Recipe is a festive, layered chocolate treat perfect for the holidays or whenever you want a refreshing minty sweet bite. It's a simple, elegant dessert that combines the rich depth of semi-sweet chocolate with the creamy brightness of white chocolate, layered with crunchy peppermint candies for a perfect texture contrast. You'll find it's not only delicious but also a great project to make with friends or family during cozy winter afternoons.
Jump to:
What Sets This Apart
I've tried a lot of peppermint bark recipes over the years, and what makes this one special is how reliably it balances creamy and crunchy textures with the bright, fresh peppermint flavor - plus, it's straightforward enough to whip up even on a busy day.
- Consistent Results: Easy melting and layering technique prevents seizing and ensures glossy chocolate surfaces every time.
- Rich, Balanced Flavor: The peppermint extract isn't overpowering-it complements the bittersweet and creamy chocolates beautifully.
- Pantry-First Ingredients: Uses common chocolates and peppermint candies that you probably already have during the holidays.
- Weeknight Friendly: No baking involved-just melt, layer, chill, and enjoy within a couple of hours.
Ingredient Snapshot
When selecting your ingredients for this Peppermint Bark Recipe, quality makes a difference but you don't have to overdo it. Using good semi-sweet and white chocolate bars will give you that silky melt and snap, while fresh peppermint candies add crunch and festive flavor.
- Semi-sweet Chocolate: Choose a high-quality bar for better melting and smoother texture than chips.
- White Chocolate: Use a white chocolate baking bar or chips, avoiding white almond bark, which can have a waxy finish.
- Peppermint Candies: Crush candy canes freshly for sharp, clean peppermint flavor and crunchy texture.
- Peppermint Extract: Just a small amount enhances the fresh mint notes without overwhelming.
Quick Note: Exact measurements are in the printable recipe card at the bottom.
How to Make Peppermint Bark Recipe
Step 1 - Prep & Season
Start by lining a baking sheet with parchment paper-this makes clean-up and peeling the bark off much easier. Then, gently melt the semi-sweet chocolate either over a double boiler or in the microwave, stirring every 20-30 seconds to prevent overheating. You'll notice when it's smooth and glossy, which means it's ready. Stir in the peppermint extract at this stage-this infuses the chocolate with that perfect cool mint flavor before you spread it out evenly in a rectangle on your baking sheet. Pop it into the fridge for about an hour to set firmly.
Step 2 - Build Flavor
Once the dark chocolate layer is set, melt your white chocolate with the same gentle method-low and slow is key here to keep it creamy and avoid graininess. Fold in half of the crushed peppermint candies now, which will distribute minty bursts right within the layer. Pour this over your chilled dark chocolate, spreading carefully to cover the surface fully. This layer adds a major visual contrast and a delicious sweetness that complements the bittersweet base.
Step 3 - Finish for Best Texture
Sprinkle the remaining peppermint pieces generously over the white chocolate while it's still soft and gently press them down to ensure they stick without sinking. Now let the whole thing chill for at least another hour, or until fully set. Avoid room temperature drying, which can dull the shine or cause bloom-refrigeration is your best friend. When ready, break the bark into irregular, rustic pieces-you'll love how the candy snaps and the layers show off.
Cook's Notes & Tricks
From my experience, the key to perfect peppermint bark is controlling temperature during melting and setting. Chocolate can be sensitive, but patience here means your bark will have that beautiful gloss and satisfying snap you want.
- Doneness Cue: When the chocolate is fully set, it should snap cleanly when broken, not bend or crumble.
- Temperature Trick: Always melt chocolate in short intervals and stir well; overheated chocolate becomes grainy or burns.
- Make-Ahead Move: You can prepare this a couple of days before gifting or serving-store airtight in a cool place.
- Avoid This Pitfall: Don't skip chilling between layers; it keeps your layers distinct and textures intact.
Serve & Enjoy
Finishing Touches
I love to serve peppermint bark just as it is, letting those glossy layers and crunchy peppermint shine. Optionally, a light dusting of powdered sugar or a few whole peppermint candies on the side make it extra festive. The mix of textures and that cool peppermint zing always feels like a reward after a quick effort in the kitchen.
Pairs Beautifully With
This peppermint bark pairs wonderfully with a warm cup of coffee or hot cocoa. The bitterness of coffee complements the sweet and minty chocolate, while the rich cocoa echoes the creamy layers. For an adult twist, a splash of peppermint schnapps or a smooth whiskey alongside adds an extra kick.
Simple Plating Wins
Serving this bark on a simple wooden board or white plate lets those chocolate layers pop visually. Group pieces loosely for a casual, rustic feel or stack them for a more polished presentation. Adding a sprig of fresh mint or a small bowl of crushed candy canes nearby makes the setup festive without fuss.
Make-Ahead, Storage & Reheat
Storing Leftovers
Store leftover peppermint bark in an airtight container at room temperature if your kitchen isn't warm; otherwise, keep it in the fridge. It stays good for up to two weeks. You'll notice the texture stays firm and the peppermint notes remain fresh when properly sealed.
Freezing Tips
You can freeze peppermint bark wrapped in foil and stored in a freezer bag for up to two months. Thaw it in the refrigerator to avoid condensation melting the chocolate. While freezing can slightly dull the shine, the taste and crunch hold up well.
Reheating Peppermint Bark Recipe Without Drying Out
Since peppermint bark is best served chilled, reheating isn't usually recommended. If you want a softer texture, briefly warm pieces in the microwave for 5-7 seconds on low power, watching carefully so the chocolate doesn't melt unevenly. Avoid ovens or air fryers-they're too intense and risk ruining the texture.
Frequently Asked Questions
Absolutely! Crushed candy canes work perfectly and give a fresh peppermint flavor with a satisfying crunch. Just crush them to a coarse texture so they don't sink too much into the chocolate layers.
Seizing happens when chocolate comes into contact with even a drop of water. To fix this, gently whisk in a tiny bit of warm cream or oil to smooth it out, or start again with dry, clean utensils and low heat to avoid moisture.
Stored properly in an airtight container, it lasts up to two weeks at room temperature (if cool) or in the fridge. Freezing extends shelf life to about two months without major loss of quality.
Definitely! Some people add a sprinkle of sea salt, crushed nuts, or even a drizzle of caramel on top. Just be mindful that these additions complement the peppermint and don't overpower the chocolate layers.
Final Thoughts
I love how this Peppermint Bark Recipe offers comfort and festive joy without any fuss-just melt, layer, chill, and snap into deliciousness. It's one of those recipes that never fails to impress guests or brighten a chilly afternoon. Whether you're gifting it or enjoying it yourself, it's a reminder that simple ingredients and a bit of patience create magic in the kitchen. Give it a try, and you might find it becoming a holiday staple in your home too.
PrintFull Recipe
Peppermint Bark Recipe
This Peppermint Bark recipe combines rich semi-sweet chocolate with creamy white chocolate infused with peppermint extract and crushed peppermint candies, creating a festive and delightful holiday treat that's easy to make and perfect for sharing.
- Prep Time: 20 minutes
- Cook Time: 10 minutes
- Total Time: 2 hours 30 minutes
- Yield: 12 servings
- Category: Dessert
- Method: No-Cook
- Cuisine: American
- Diet: Vegetarian
Ingredients
Chocolate Layers
- 12 oz semi-sweet chocolate, chopped
- ½ teaspoon peppermint extract
- 12 oz white chocolate, chopped
Toppings
- ½ cup crushed peppermint candies or candy canes
Instructions
- Prepare Baking Sheet. Line a baking sheet with parchment paper to prevent the chocolate from sticking and to make cleanup easier.
- Melt Semi-Sweet Chocolate. In a heatproof bowl, melt the semi-sweet chocolate over a pot of simmering water or in 30-second intervals in the microwave, stirring until smooth to ensure even melting.
- Add Peppermint Extract. Once melted, stir in the peppermint extract evenly to infuse the chocolate with peppermint flavor.
- Spread Semi-Sweet Chocolate. Spread the melted chocolate evenly on the prepared baking sheet, shaping it into a rectangle so the bark sets uniformly.
- Chill Chocolate Layer. Place the baking sheet in the refrigerator to harden for about 1 hour, allowing the semi-sweet chocolate to set firmly.
- Melt White Chocolate. In a separate bowl, melt the white chocolate using the same method as before until smooth and creamy.
- Fold in Peppermint Candies. Gently fold half of the crushed peppermint candies into the melted white chocolate to add texture and flavor.
- Spread White Chocolate Layer. Pour and spread the white chocolate mixture evenly over the set semi-sweet chocolate layer to create a two-layer effect.
- Top with Peppermint Candies. Sprinkle the remaining crushed peppermint candies on top and gently press them down to ensure they stick to the white chocolate.
- Final Chill. Refrigerate the entire bark until fully set, at least 1 hour, to allow the layers to firm up properly.
- Serve. Once set, break or cut the peppermint bark into pieces and serve as a delicious festive treat.
Notes
- Use quality baking chocolate for the best flavor and texture.
- Ensure the bowls and utensils are completely dry before melting chocolate to prevent seizing.
- Crush peppermint candies finely for better coverage and texture.
- Store peppermint bark in an airtight container in the refrigerator to keep it fresh.
- For an extra festive touch, drizzle additional melted chocolate over the top.


Leave a Reply