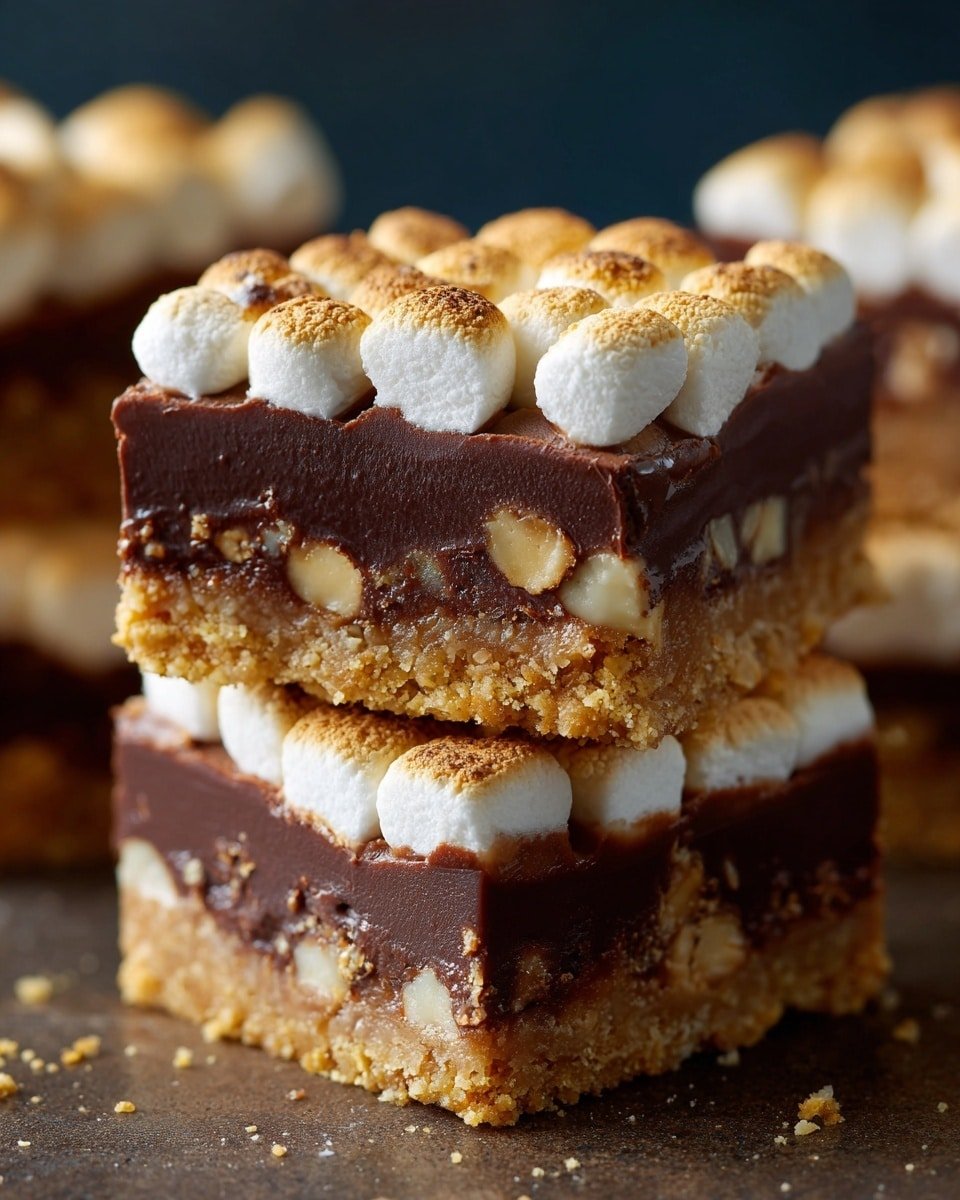
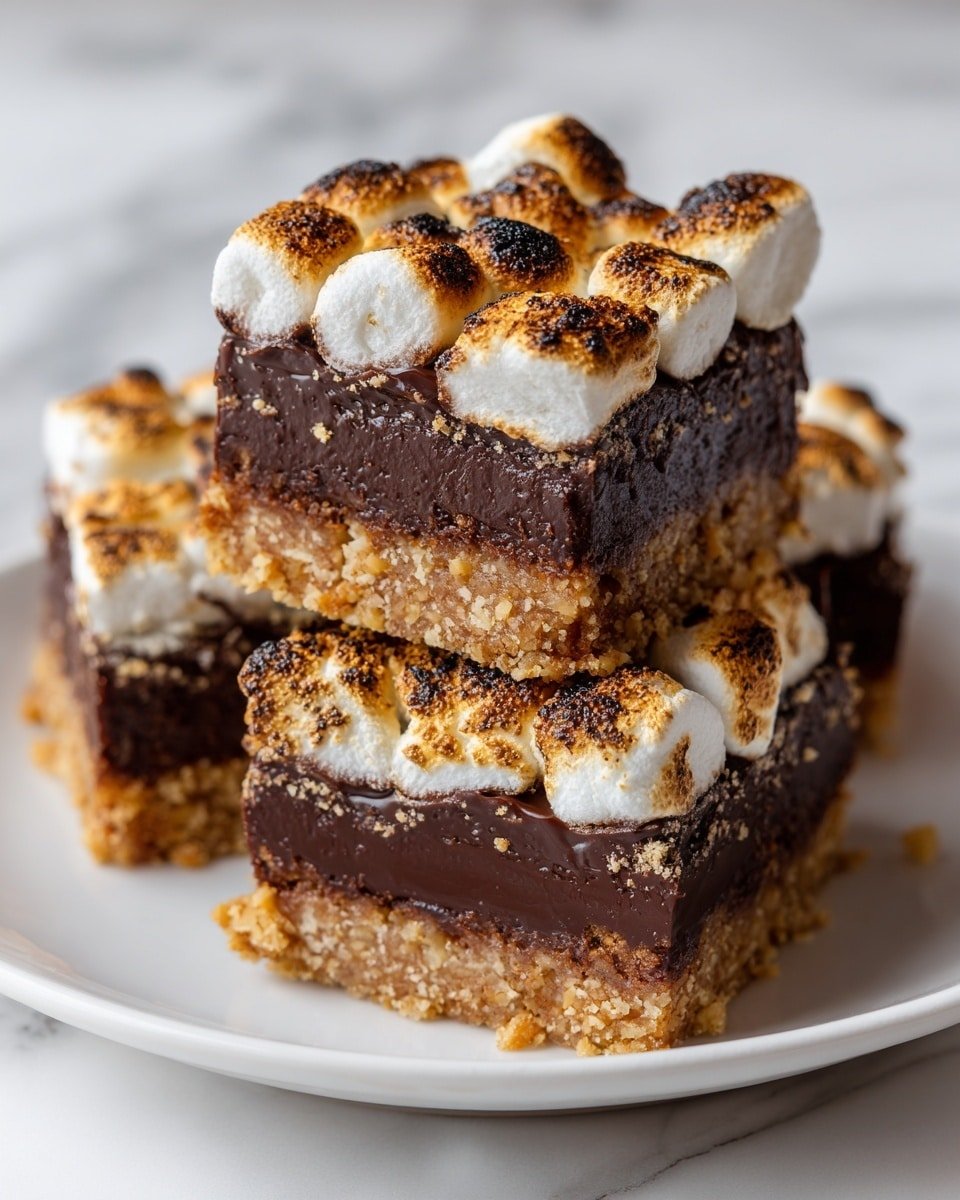
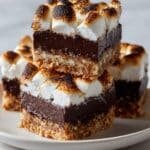
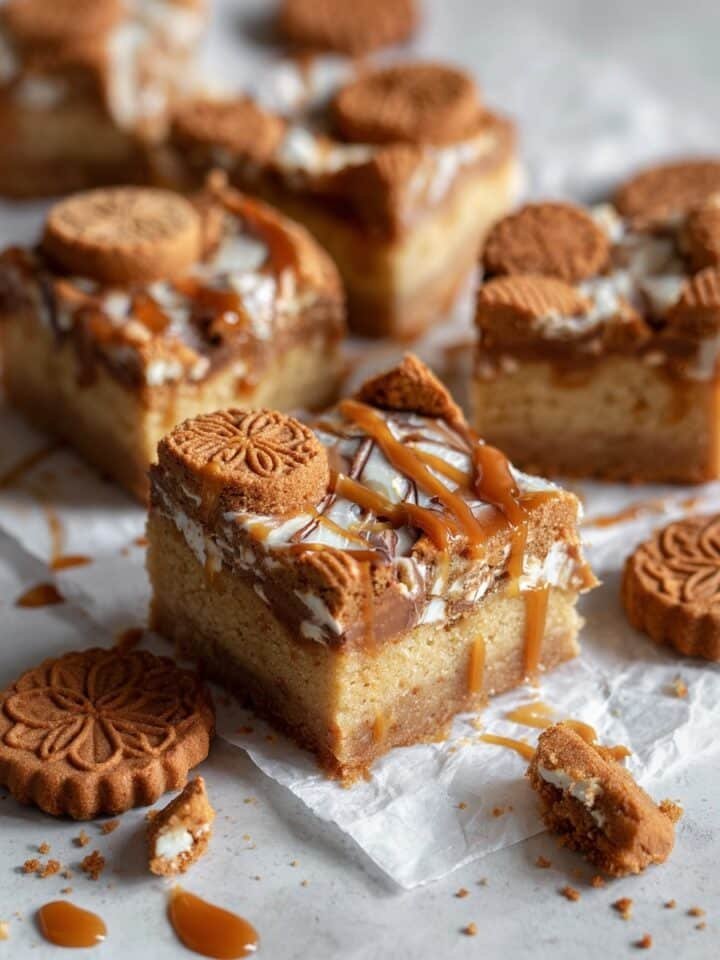
If you love everything about campfire s'mores but want to enjoy those gooey, chocolaty flavors anytime, S'more Bars: No-Bake Chocolate Marshmallow Treats Recipe is an absolute game changer. Perfect for last-minute gatherings or when you're craving a sweet treat that doesn't require an oven, these bars come together quickly and satisfy that nostalgic craving with zero fuss.

Jump to:
What Sets This Apart
What I really love about this S'more Bars: No-Bake Chocolate Marshmallow Treats Recipe is how it packs that perfect balance of crunchy, silky, and melty textures-all without baking. It's quick, approachable, and insanely comforting every single time.
- Consistent Results: The chilled crust sets solid, so it never crumbles or falls apart when you cut it.
- Rich, Balanced Flavor: Combining semi-sweet and milk chocolate chips gives a deep but sweet chocolate hit that complements the marshmallow's fluffiness.
- Pantry-First Ingredients: You only need basics like graham crackers, butter, and marshmallows-no specialized items.
- Weeknight Friendly: You can prep these bars in under 20 minutes with no heat, perfect for a quick sweet fix.
Ingredient Snapshot
Choosing quality ingredients here makes all the difference, especially when the texture and flavor shine through so simply in this S'more Bars: No-Bake Chocolate Marshmallow Treats Recipe. Fresh graham crackers and good chocolate chips make every bite feel special.
- Graham crackers: Go for freshly crushed, not stale, to get that perfect crispy, buttery base.
- Butter: Use unsalted for control over saltiness, melted smoothly without browning.
- Chocolate chips: I prefer a mix of semi-sweet and milk for creamy, balanced sweetness.
- Mini marshmallows: Fresh ones ensure that glossy, pillowy top layer stays soft, not tough.
- Coconut or vegetable oil: Just a bit to keep melted chocolate shiny and easy to spread.
Quick Note: Exact measurements are in the printable recipe card at the bottom.
How to Make S'more Bars: No-Bake Chocolate Marshmallow Treats Recipe
Step 1 - Prep & Season
Start by lining a 9×9-inch pan with parchment paper, leaving a generous overhang to lift the bars out easily later. Then crush your graham crackers finely but not to powder-you want tiny bits that will pack into a sturdy crust. Melt your butter gently, mixing it with the graham cracker crumbs, brown sugar, and just a pinch of salt. The texture should resemble slightly wet sand so it binds well when pressed. Don't skimp on pressing down firmly into the pan here - that's what keeps your crust solid instead of crumbly.
Step 2 - Build Flavor
Pop the crust into the freezer for about 10 minutes so it sets perfectly while you melt the chocolate chips. I like melting them using 30-second bursts in the microwave, stirring in between to keep it smooth and glossy-never let it overheat or seize. Adding a tablespoon of coconut or vegetable oil here helps the chocolate stay silky and spreadable. Pour it evenly over the chilled crust, then if you want a peanut butter twist, swirl it gently at this point before sprinkling the mini marshmallows on top. That soft, snowy layer will toast beautifully or stay pillowy depending on your preference.
Step 3 - Finish for Best Texture
Put your pan in the fridge for at least 2 hours so the chocolate sets firm but not hard. For a quick fix, pop it in the freezer for about 30 minutes-but keep an eye so the marshmallows don't get icy. If you want those classic golden toasty marshmallows, a quick broil under high heat for 1 to 2 minutes does the trick; trust me, stay close and watch carefully because marshmallows can burn in seconds. Once set, lift the bars out by the parchment edges and cut into clean squares with a sharp knife, wiping it off between cuts to keep the slices neat.
Cook's Notes & Tricks
I've found that getting the base crust right is what takes these no-bake bars from good to memorable. Press firmly and chill adequately. Also, don't rush melting the chocolate-slow and steady keeps it glossy. When broiling, trust your eyes more than the timer to avoid burnt marshmallows.
- Doneness Cue: The chocolate should be firm to touch but not brittle, and marshmallows slightly glossy or toasted.
- Temperature Trick: Room temperature butter melts best for crust mixing and presses in easier.
- Make-Ahead Move: Chill bars fully overnight for best slicing and flavor melding.
- Avoid This Pitfall: Don't crush graham crackers too finely or the crust won't have pleasant crunch.
Serve & Enjoy
Finishing Touches
These bars shine on their own, but if you want to add a little something, a sprinkle of flaky sea salt on top contrasts beautifully with the sweet marshmallow and rich chocolate layers. You can even toss some chopped nuts in the mix before chilling for a nutty texture surprise. Serve these treats chilled or at room temperature-I love both ways, depending on the day.
Pairs Beautifully With
For a balanced dessert spread, pair these S'more Bars: No-Bake Chocolate Marshmallow Treats Recipe with a warm cup of coffee or rich hot chocolate. A citrusy herbal tea also cuts through the sweetness nicely, making every bite even more enjoyable.
Simple Plating Wins
I like arranging the bars in a rustic wooden tray or on parchment paper for a casual vibe. For a party, line them up on a sleek slate board and garnish with a few marshmallows and graham cracker crumbs sprinkled around. It's simple, inviting, and keeps that cozy campfire feeling alive indoors.
Make-Ahead, Storage & Reheat
Storing Leftovers
Keep leftover bars in an airtight container in the fridge for up to 5 days. The crust stays delightfully crisp while the chocolate and marshmallow remain soft but firm enough to hold their shape. I recommend slicing only before serving to prevent drying out.
Freezing Tips
These bars freeze well wrapped tightly in plastic wrap and then in a freezer bag for up to 3 months. Thaw them in the refrigerator overnight to avoid sogginess. Keep in mind that the marshmallows may lose a bit of their fluffy texture after freezing but the flavor remains wonderful.
Reheating S'more Bars: No-Bake Chocolate Marshmallow Treats Recipe Without Drying Out
Warm the bars gently in the microwave for 15 to 20 seconds-just enough to soften the chocolate and marshmallows without melting the whole bar. If you prefer, a quick 3-minute stint at 300°F in the oven wrapped loosely in foil also works well. Avoid overheating to keep that glossy chocolate and marshmallow from turning rubbery or drying out.
Frequently Asked Questions
Yes, but cut them into smaller pieces so they distribute evenly and don't create giant pockets in the bars. Minis melt more uniformly for the classic texture.
Absolutely. Substitute the graham crackers with a gluten-free cracker or cookie crumb of your choice, ensuring similar texture for the crust.
Definitely! Adding peanut butter swirls, a pinch of cinnamon, or even chopped nuts can lift the flavor while keeping things fun and personal.
Use a sharp, slightly warmed knife and wipe it down between cuts. This prevents stickiness and keeps the edges of the bars neat.
Final Thoughts
This S'more Bars: No-Bake Chocolate Marshmallow Treats Recipe is one I turn to when I want all the nostalgic flavors of campfire s'mores without the fuss of fire or oven time. It's a reliable crowd-pleaser and a great way to feel cozy no matter the season. You'll enjoy how simple it is to make yet how impressive it tastes-try it for your next get-together and watch it disappear fast.
PrintFull Recipe
S'more Bars: No-Bake Chocolate Marshmallow Treats Recipe
These easy no-bake S'more Bars are a perfect dessert for parties and kids, featuring a crunchy graham cracker crust, a luscious chocolate layer, and gooey mini marshmallows. Ready in just a few hours with an optional broil for toasted marshmallows, they deliver all the classic s'mores flavor without the campfire.
- Prep Time: 15 minutes
- Cook Time: 2 minutes
- Total Time: 2 hours 17 minutes
- Yield: 16 servings
- Category: Dessert
- Method: No-Cook
- Cuisine: American
Ingredients
Crust
- 2 cups graham crackers, crushed (about 16 sheets)
- ½ cup unsalted butter, melted (1 stick)
- ¼ cup brown sugar
- Pinch of salt
Chocolate Layer
- 1 cup semi-sweet chocolate chips
- 1 cup milk chocolate chips
- 1 tablespoon coconut oil or vegetable oil
- Optional: 2-3 tablespoons peanut butter (for swirling into chocolate layer)
Topping
- 2 ½ cups mini marshmallows
- Optional: Chopped nuts (such as pecans or peanuts), for topping
- Optional: Sea salt flakes, for topping
Instructions
- Prepare Pan and Crust: Line a 9×9-inch baking pan with parchment paper, leaving an overhang for easy removal. In a medium bowl, combine crushed graham crackers, melted butter, brown sugar, and a pinch of salt, mixing until the mixture resembles wet sand. Press this firmly into the bottom of the prepared pan to form an even crust. Freeze for 10 minutes to set.
- Melt Chocolate: In a microwave-safe bowl or small saucepan, combine semi-sweet and milk chocolate chips with coconut or vegetable oil. Melt in 30-second bursts in the microwave or over low heat on the stovetop, stirring until smooth.
- Assemble Chocolate Layer: Pour the melted chocolate over the chilled crust and spread evenly. If using peanut butter, swirl it into the chocolate layer now.
- Add Marshmallows: Sprinkle mini marshmallows evenly over the chocolate layer and gently press them in.
- Chill to Set: Refrigerate the pan for at least 2 hours until the chocolate is firm. For a quicker set, freeze for 30 minutes.
- Optional Toasting: For toasted marshmallows, place the pan under the broiler for 1-2 minutes until golden brown. Watch closely to prevent burning, then let cool completely.
- Cut and Serve: Lift the bars out of the pan using the parchment overhang. Cut into 16 squares with a sharp, greased knife, wiping the blade between cuts for clean slices. Serve slightly chilled or at room temperature. Store leftovers in an airtight container in the fridge for up to 5 days.
Notes
- Use parchment paper overhang to easily lift the bars out without breaking.
- For a richer chocolate layer, try using all semi-sweet or all milk chocolate chips according to preference.
- If you prefer crunch, add chopped nuts on top of the marshmallows before chilling.
- Swirling peanut butter into the chocolate layer adds a delicious flavor twist.
- Keep the marshallows tightly pressed into the chocolate to prevent them from falling off when cutting.
- Broiling marshmallows is optional but adds authentic toasted flavor; watch carefully to avoid burning.
- These bars are best stored chilled to maintain firmness but can be served slightly chilled or at room temperature.


Leave a Reply